
For the past several months I’ve been working on a nine tailed fox sculpture for my husband’s Valentine’s Day present. If you’ve been following me on Instagram or Facebook, you’ve probably seen a few work in progress shots that I’ve posted.
I’m happy to say that I finished the fox just in time for Valentine’s Day and I’m excited to share the finished sculpture with all of you, along with instructions and step-by-step photos of how I turned a humble sketch into a three dimensional sculpt.
First, I made an armature – basically a skeleton on which my sculpture was built. I made this armature using armature wire and two part epoxy putty.

After completing the armature I started adding clay and sculpting. You want to start with basic shapes and add details from there. While I used stone clay to make my jewelry dishes, I used Sculpey hard polymer clay to make this fox figurine. You generally bake sculpey in an oven in order to cure and harden it once you finish sculpting. But, since I wanted to add clay to the sculpture in stages I shortened the baking time and used foil to protect parts that had already been baked.
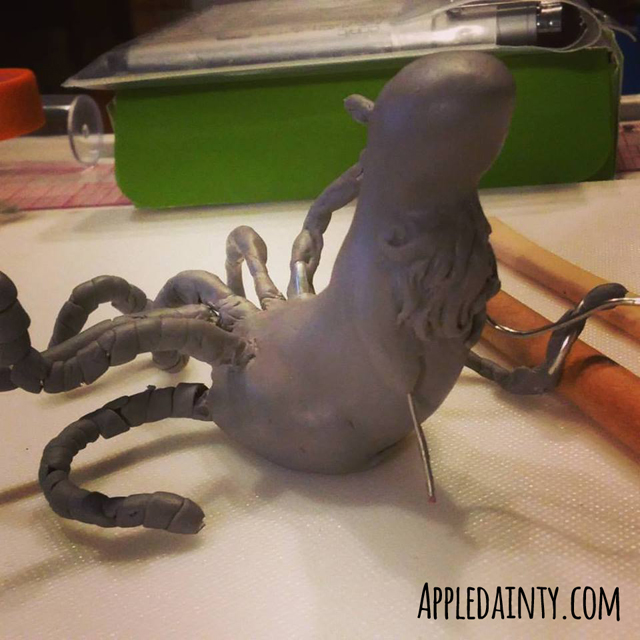
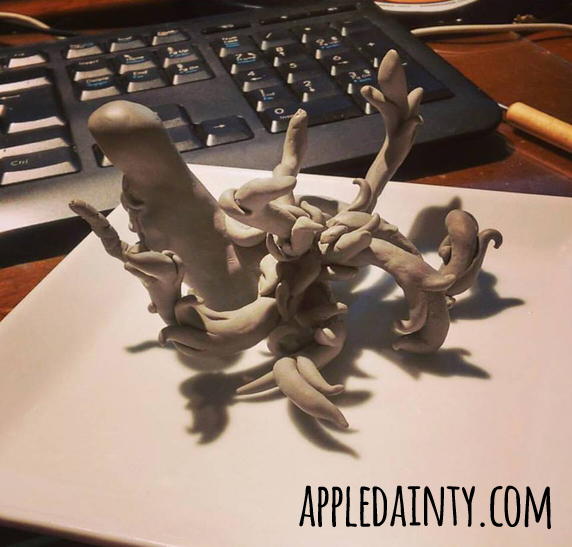
Sculpey shrinks after baking, which means that it can also end up cracking. That’s why if you’re going to be making a larger sculpture, you generally want to use tin foil to bulk up and make basic shapes around your armature so that your clay won’t be too thick to bake properly. I didn’t think I would need any foil since this is a small sculpt, but I probably should have since I ended up with some cracking – mainly in the thicker sections of the sculpt.
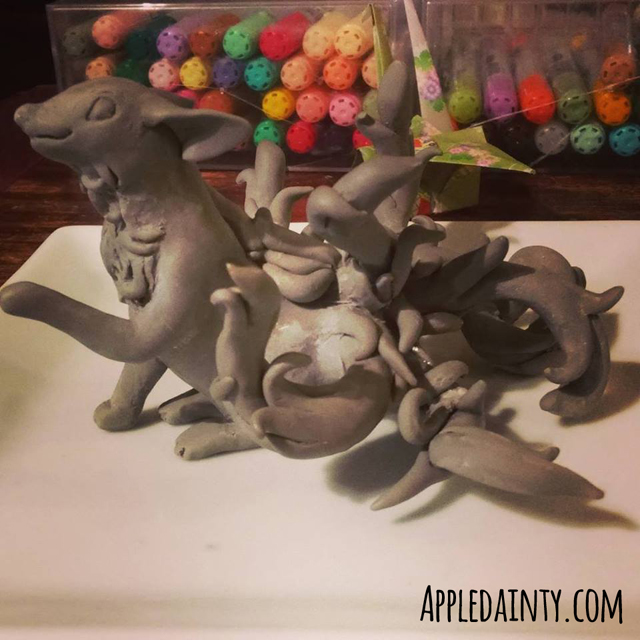
I ended up having to fill those cracks back in and sand them down so that the cracks weren’t visible anymore. I also had several tail pieces snap off, and I ended up having to glue the back into place and patch them the same way.
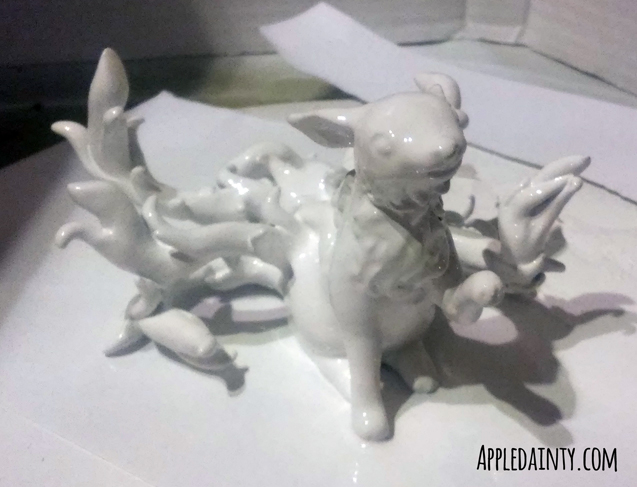
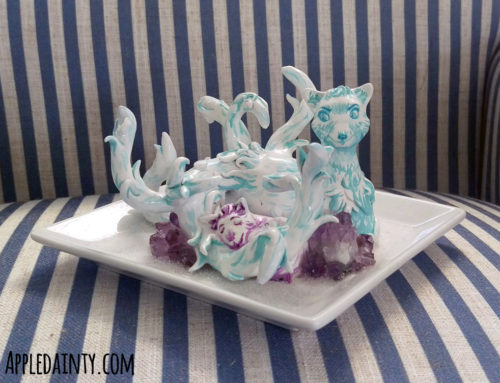
Once I finished the final bake of this sculpture, I sanded down any remaining rough bits or fingerprints that I could, being careful not to snap off any more tail parts. After sanding, I gave the sculpture a coat of hardened molding paste to seal it, and spray painted it white. Most people wouldn’t recommend spray paint for sculpey because it tends to degrade the clay, but if you seal it first it’s usually ok. That’s my experience anyway, and I’m not an expert by any means.
Here is how the fox looked after being winterized.
 I was just going to leave it white, but Dave liked the idea of it having some gold details. So, I added a little gold to him as well. I just used gold craft acrylic and a small paintbrush. I bought the inexpensive craft paint from Michaels, but it was very thing – if I were going to do it again I would get something thicker or maybe try using a paint marker.

Et voila, he is complete.

[…] pursue it. That said, I took on this sculpture commission because my cousin asked me to. She saw a sculpture I made for my husband, and wanted something […]