And now it’s time for something a little different. I love baking bread and pastries and it’s been a while since I posted a recipe.
I love Hawaiian bread, and thought it would be fun to try and recreate them from home.
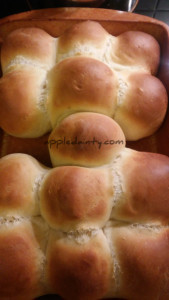
The first thing I did was look up various recipes for Hawaiian rolls. I tried a few of them, with varying results and eventually came up with my own variation. Keep in mind that I use a bread maker to mix my dough (because lazy) so results may vary.
Dry Ingredients
4 cups bread flour
1 packet yeast (2 1/4 teaspoons)
1 teaspoon salt
5 tablespoons sugar
2 tablespoons instant potato flakes
Wet Ingredients
1/4 cup melted butter
1/2 cup warm milk
1/2 cup pineapple juice
2 eggs
Directions
- Whisk together all the wet ingredients until evenly mixed.
- Pour wet ingredients into the bread maker’s pan.
- Add salt to wet ingredients.*
- Mix together all the other dry ingredients except the yeast and salt which was already added to the wet ingredients.
- Pour the dry ingredients over the top of the wet ingredients.
- Create a well in the dry ingredients, not deep enough to reach the wet ingredients, and pour the yeast into the well. **
- Set your bread maker to dough setting and let it do it’s thing.
- Use baking spray or lightly oil your bread pan.
- Once the dough is done rising, take it out of the bread maker and punch it down on a nice clean surface. It shouldn’t need to be floured, but you can lightly flour the kneading surface it if the dough is a little wet.
- Separate your dough into buns, shape and place on the bread pan.
- Cover with a cloth and let rise again for 20-30 minutes.
- Bake in oven at 350 for 25-30 minutes or until golden brown. If you’re using a convection oven, try setting it to 325 instead.
You should be able to do roughly the same thing without a bread maker. You just mix the wet ingredients, mix the dry ingredients, then pour the wet into the dry and mix by hand. You can also use an eggwash on the bread prior to baking to give it a little shine.
If the dough isn’t cooked through the middle (the crumb isn’t fully formed) but the crust is done, you can wrap the pan in foil and put it back in for 15 more minutes that should help.
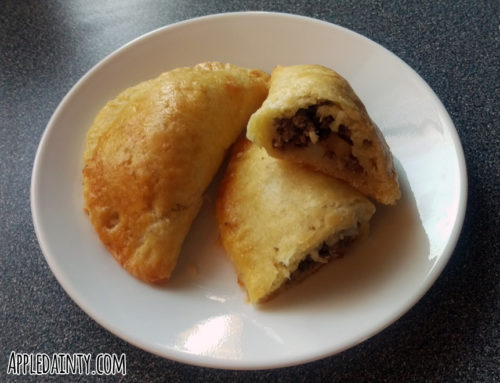
Here’s a chicken salad sandwich I made with a large Hawaiian roll. I made the chicken salad too, but that’ll have to be a recipe for another day. ;D
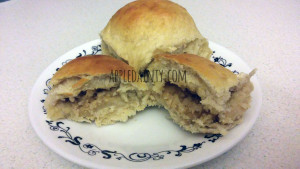
I also really like making pan de coco from this type of bread. Pan de coco is filipino coconut stuffed bread.
Pan de coco filling is made from shredded or flaked coconut (sweetened is best), melted butter, brown sugar, and vanilla. I don’t usually measure when I make it myself, I just add the quantities in until I’m satisfied with the flavor. But, here’s my best guestimate of quantities for filling:
Pan de Coco Filling
2 tablespoons melted butter
1 cup coconut flakes
1 cup of brown sugar
1 teaspoons of vanilla
Instead of shaping and popping your dough into the oven, you roll it into a ball, then flatten it out either by pressing it with your hands or using a roller. Put a spoonful of filling in the center, then pinch the roll shut around the filling to create a ball. After that, everything else is the same – place your filled rolls into an oiled baking pan and bake at 350 degrees for 20 or so minutes until the rolls are golden brown.
This recipe tends to turn out a little doughy in the middle because of the filling; my husband likes it this way, but you can always cook yours longer and if your crust is done but the interior is not, you can put foil on the pan and pop it back in for another 15 minutes to give it a boost.
*The reason you add the salt to the wet ingredients is to keep the salt from disrupting the yeast, but it shouldn’t be a problem if the salt gets mixed into the dry ingredients.
**The instructions on my bread maker suggested making a well to help the yeast get distributed evenly. I’ve made this recipe mixing by hand before and the results were the same, so if you’re doing this by hand or using a mixer instead of a bread maker you don’t need to worry about this step.

