Last year I started an applique quilt in the theme of a companion cube. I got pretty far with the appliques, but unfortunately my quilt is still Florida so even though I now have the time to work on it, I don’t actually have the materials. But, instead of working on the quilt I figured I could make some throw pillows that have similar colors and nerdy flare.
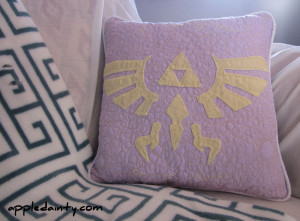
My quilt has a winged companion cube and the phrase “This was a triumph!” So, keeping that idea I came up with an idea for a Legend of Zelda inspired pillow featuring the crest of Hyrule and the familiar phrase “It’s dangerous to go alone.” (Take this!)
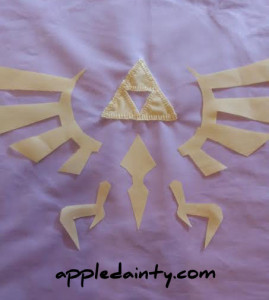
I started with a quick google search for the crest of Hyrule. Instead of drawing one up myself I just printed off a simple black outline from my image search and used that as the basis for my hyrule crest pattern.
I cut out my pillow blanks (plain squares) and hyrule crest pattern pieces from my chosen fabrics – yellow for the crest, a pale purple for the front of the pillow and an eggplant purple for the back.
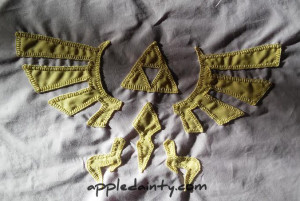
I used spray adhesive, or spray baste, to stick my crest pieces to my pillow blank, then started embroidering the pieces to the quilt with thick yellow embroidery floss.
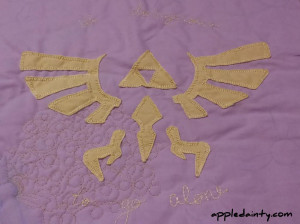
Once all the pattern pieces were in place, I used a blue chalk pencil to write the phrase onto the fabric before embroidering over it with the same yellow embroidery floss.
I don’t recommend using the chalk pencils unless you are sure you can get the chalk out from the fabric. My fabric did end up slightly stained from where I used too much of it on one area, but I was lucky and managed to wash it out after all the embroidery work was done.
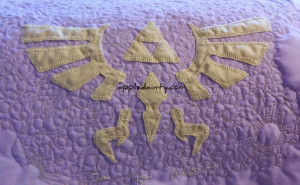
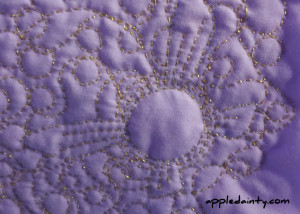
That’s when the fun really got started. I haven’t really done a lot of embroidery work before. The appliques for my companion cube quilt were my first real attempt at it. I did a little bit of reading up on how to do basic things – like hide your knots – and then decided on a thin gold decorative thread. It has a nice contrast with the bright yellow of the crest and phrase.
It took forever to do all the embroidery because I was doing it all by hand, but I think it was worth it. I hide several navis in the embroidery design as well, which was fun to do.
Once all the embroidery was finally done, I sewed on some white piping and the back of the pillow, leaving an opening so that the pillow could be stuffed. At this point I decided to tack the opening closed and put it through the wash to try and get rid of the blue chalk lines, which worked out well.
After it came out of the dryer I stuffed the pillow and sewed the opening shut. Est voila! A nerdy pillow. I have two more pillows I want to finish so that we have a nice set for our future living room sofa, but I think I might take a little break from embroidery projects for a while. It’s not like I’m lacking for things to do!
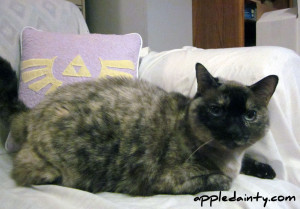
And here’s one last photo of my cat, Isabelle, enjoying the chair and new pillow.

I am working on a cut and sew design of a doll. I don’t know how to make it look like a professional pattern. Will you have a conversation with me about how to go from pencil design to putting the finished product on on spoon flower. What do I need equipment wise? Thanks for your consideration. My name is Kimberley Pierce Cartwright. I am a quilter living in Durham, North Carolina.
Hi Kimberley! I draw my designs in pencil, then ink them using Copic Multiliner pens. I then scan them into my computer using a standard printer/scanner combo (HP Deskjet 3520). I use Adobe Photoshop and Illustrator CS4 to clean up and color my images and turn them into a final pattern.