Last week I launched my little collection of leather cut jewelry pieces through Kickstarter, The Flora and Fauna Collection. This week we’ll take a look at how these jewelry pieces are made, but using a Zelda twist.
When I started designing bracelets and other jewelry pieces to cut out with my Silhouette Curio, I did a lot of searching around on google hoping that someone else had already posted the best cutting settings. I had no luck, and had to run my own tests – but now I get to pass my knowledge on to ya’ll. Today I’m going to do a full walk through of making a leather bracelet with the Silhouette Curio.
Let’s start with inspiration.
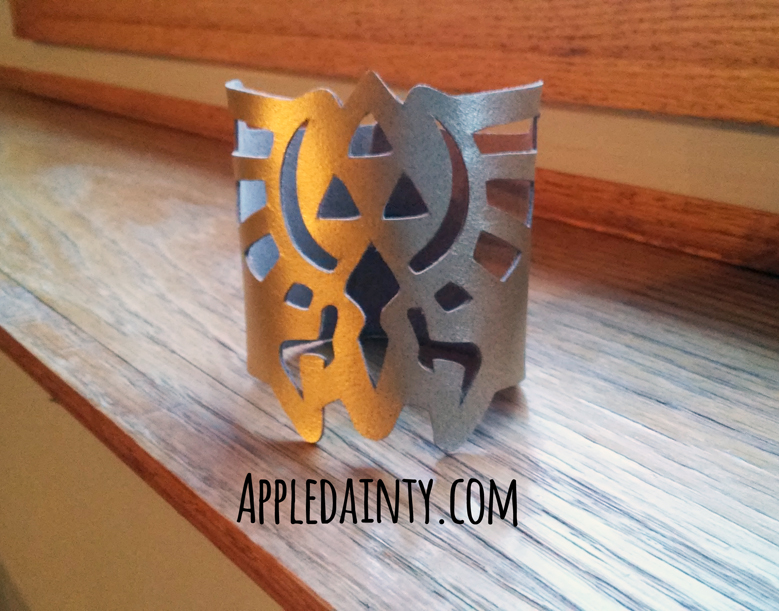
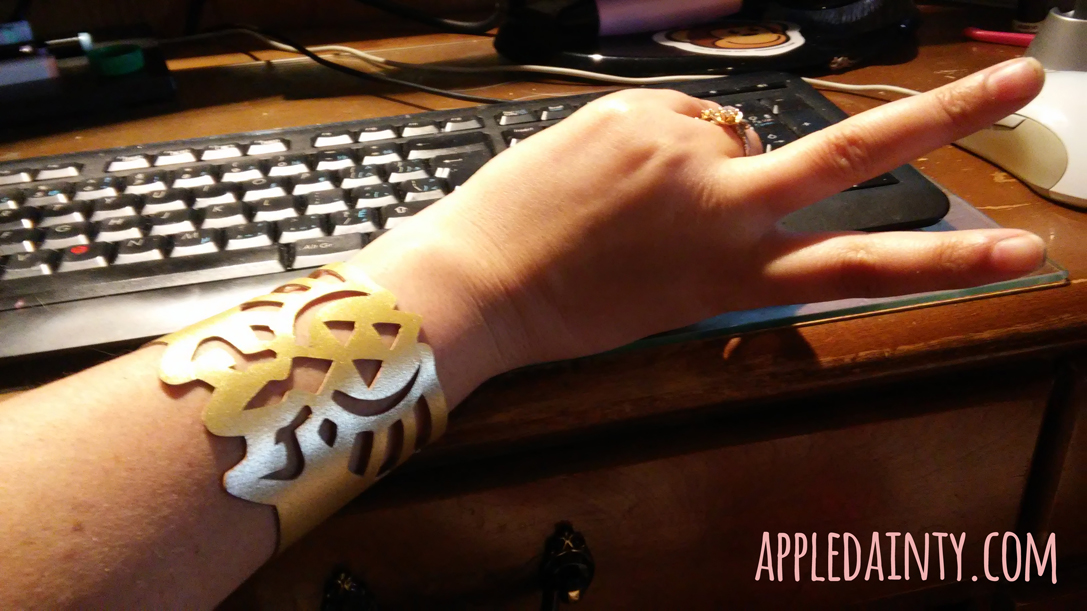
A few months ago, I posted a Zelda themed Hyrule Crest pillow. My husband is a big fan of Zelda, as are my friends, and I felt like the design could also easily translate into a bracelet
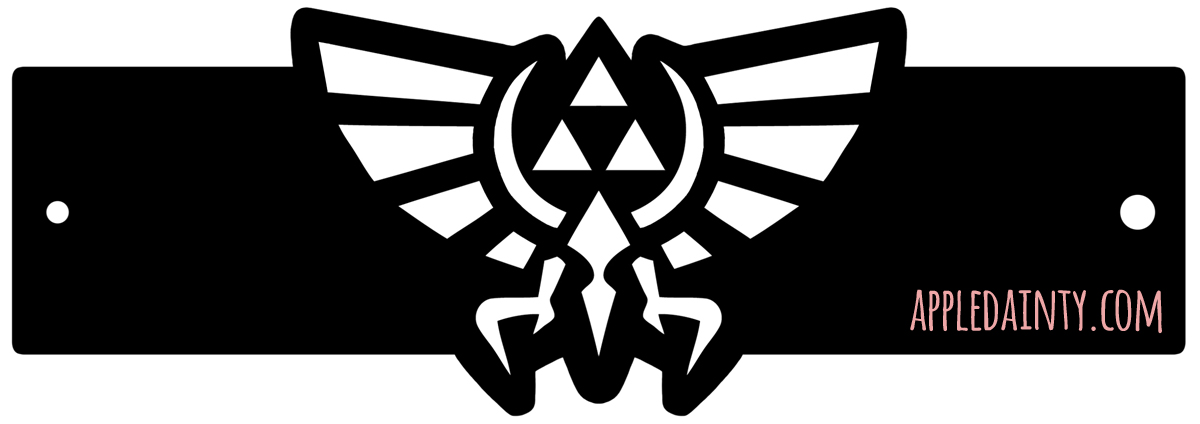
I actually drew only half the design originally, since the design is identical on both sides. After I scanned the design into my computer, I took it into Photoshop and cleaned it up. I made a copy of the half-sized design, then flipped it horizontally and brought the two halves together. Here’s what the design looks like in black and white:
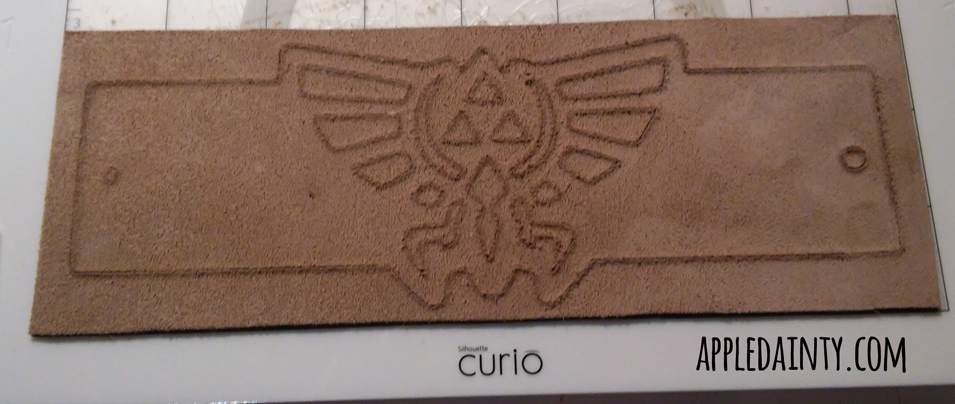
I brought the design into Silhouette Studio and used the auto tracing function on low pass setting to trace the design. I then used my custom leather cutting settings to cut the bracelet out from a piece of spare leather I had.
Here are my custom leather cutting settings: Deep Cut Blade set to 20, Platform 6, Speed 1, Thickness 33, Check Double Cut
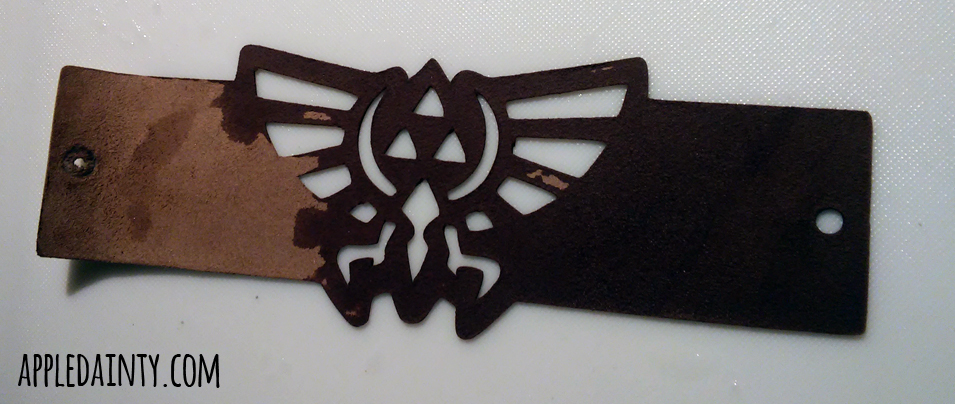
After the design was successfully cut out, I checked all the edges by hand and cleaned up any bits that were left hanging. I also like to treat my leather with a little bit of water to help stiffen it up. I just dab the back side of the leather with a wet paper towel until the leather changes color – not soaking wet, but wet enough to have absorbed some water.
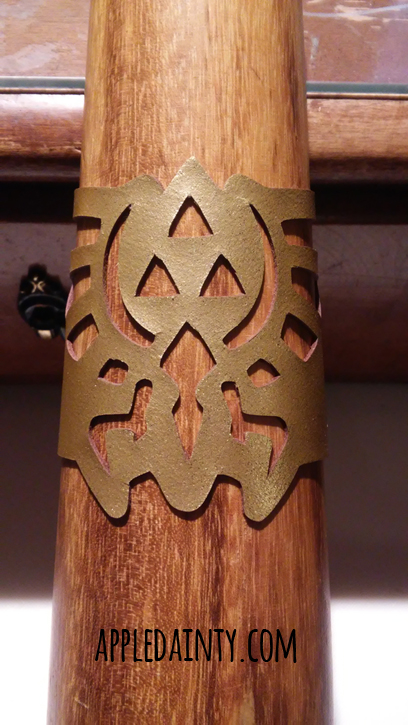
After it’s been dampened, I put the closure in place and slide the bracelet onto a wooden bracelet mandrel. I keep a little heater next to my desk to heat my feet, but I also use it to dry the leather faster. This also gives it a little bit of shape.
By the way, I bought this particular gold leather from Leather Treasure Shop on Etsy. I love this place, they ship very fast and have excellent and responsive customer service.
Want to make your own Hyrule Bracelet? You can download the pattern for free from here. This pattern is for personal use only; please do not redistribute or sell. You can use it in your own personal die cutting machine or, I guess, try cutting by hand? If you make one, please let me know! Either way, happy crafting! 😀

[…] you liked yesterday’s tutorial, then you’ll be happy to know that I’m giving away a Hyrule Crest […]
Have you had any trouble with it slipping on your mat? (I have the Cricut).
Hi there! I haven’t had any problems with slipping so long as I was using a substantial enough sticker paper. I’ve been using the silhouette brand brown craft sticker paper; the cheaper sticker paper that I’ve gotten (avery brand I think) was too thin and caused me to have issues. I also press the item and smooth it very carefully onto the sticky cutting mat to try and prevent slipping.
I also noticed a great deal more slipping when I set the cutting speed faster. There’s not as much slipping or pulling or blade jumping when the speed is lower. At least, that’s been my experience with cutting leather.
Do you mind me asking – how thick is the leather you used in this project?
Jane, it’s roughly .6-.8mm thick leather with a stiff laminated finish. 🙂
Thank you! Sorry for not responding sooner, I’ve only just seen your reply. I bought a Curio last week and am looking forward to playing with it!
Thank you, I love this! Can you share what kind of leather this is and where to get it? I love the sheen.
I use Spanish lambskin leather. I buy it from this website: https://leathertreasureshop.com/ and also on their etsy website, https://www.etsy.com/ca/shop/LeatherTreasureShop
Really helpful tutorial. I’m thinking fro what to choose for cutting the leather. From Cricut Explore Air™ 2 and Silhouette Curio.
Thanks! I’m glad you like it. I’ve never used a Cricut machine before, but from reviews I’ve read a lot of people prefer the Cricut to the Silhouette.
My Silhouette Curio can cut deep items, which is great, but comes with a very small working surface area – I think 6 x 8.5 or something like that. It can’t cut material that is on a roll like the other Silhouette machines, either, which is a little bit of a pain. You have to make sure all your material fits in the cutting area.
You can buy a larger base, but it’s annoying that you have to pay extra for standard paper size cutting area. If I had the money, I would buy a desktop laser cutting system I think. Maybe I’ll get there eventually, but for the money my Silhouette machine works great.
Thank you for this great information. I do have 2 questions. When asked if you had trouble with leather slipping you said you used the Silhouette brown craft sticker paper to help with that. I don’t understand how you use that could you expand on that? Also your picture appears to show that you are cutting the leather with the back side or unfinished side up, is that the case? Thanks again for your help. I am looking forward to trying my Curio on leather
Yes, I cut with the unfinished side up. When I cut with the unfinished side against the cutting mat it ruined the mat by leaving bits of unfinished leather stuck to it. Very difficult to remove.
But, cutting raw unfinished side up can make the blade catch and ruin the leather. So, to get around it, I apply a layer of sticker back craft paper to the unfinished side to make the blade cut more smoothly.
You could probably cut with finished side up, sticker paper against the mat, but then you’d have to peel the sticker paper off of your cutting mat.
Thanks so much for answering my questions. I love your creations!