I moved to Canada after my honeymoon in Japan, and since we’re still waiting for my immigration / work visa to go through I’ve got plenty of time to work on art projects. My wonderful husband has been encouraging me and enabling me to work on these projects, so I feel like some of the credit goes to him for what I’ve been up to. 🙂
For Christmas, we are taking part in a gift exchange. I was inspired by dishes I’d seen with cute animal figures on them. Just grab a plastic toy animal, spray paint, and glue to a dish – voila. I wanted to take it one step further, though, and sculpt my own figures. I only needed one for the exchange, but I came up with two designs and decided to do both.
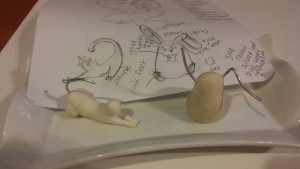
Harkening back to my maquette making days at SCAD, I started with armature wire and two part epoxy putty. I decided to work with stone clay and a little air dry porcelain. These are not the most durable materials, so I thought having an armature would help give the figures some durability – especially since they are made to hold rings, which means they would have people handling thing sensitive parts like ears and tails. Here’s what the armature looked like for my bunny:
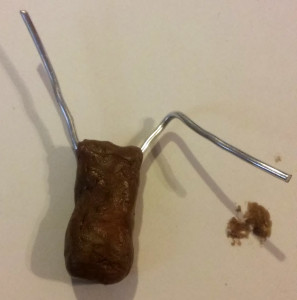
It kind of looks like poo with some wires sticking out. But, maybe it’s just an ugly duckling?
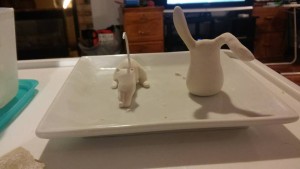
After making my armatures, I started adding the general shapes with stone clay.
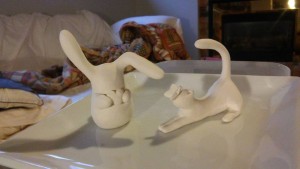
Eventually, details emerged.
Once the figures were completely dry I sanded them down, then coated them with hard modeling paste to seal them, then sanded down the paste to get rid of any lingering paint strokes.
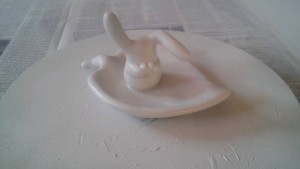
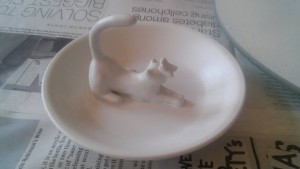
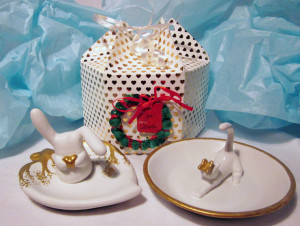
I made a leaf shaped dish for my rabbit, but the round white dish for the cat was bought from WalMart for a couple dollars.
Once the figures were glued to their bases, I spray painted them a matte white color. I probably used an entire can of spray paint trying to achieve smooth, thick coats of white paint on each figure. I had a lot of problems with the paint cracking – probably because I was painting the layers on too thick. but, now I know better for next time – paint thin layers every few minutes.
Once the spray paint dried, I used a small brush and craft paint to add the gold details to each sculpture. I think I could have found a better gold paint, as the paint was very thin and didn’t adhere well at all – even though the white base I used was a primer. I bought the cheapest craft paint I could get from the store. I think next time I would use gold paint or leaf pens instead.
I also used a clear varnish spray on the cat sculpture, which caused it to have little cracks in the finish. I used a fine grit sand paper to get rid of most of the noticeable cracks, but despite the difficulties I had with it I think it turned out well.
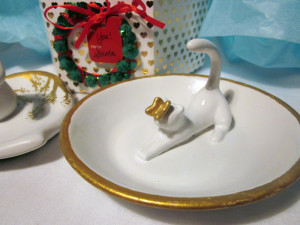
The rabbit I left unvarnished to avoid cracking – and I ended up not liking the shine of the varnish after all.
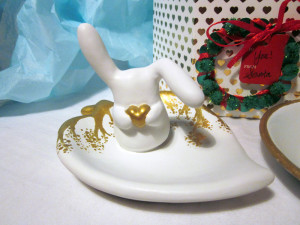
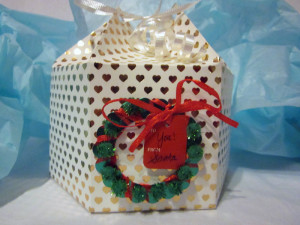
Once my sculptures were finished I needed to package my dishes. I didn’t want just normal packaging, so I also created a hexagonal box pattern and created special packages from gold and white foil paper.
A little white ribbon, some aqua colored tissue paper for contrast, and a gift tag, and now I’m good to go. 🙂

