Last month I started on the odyssey of refinishing various furniture items by refinishing my family silverware chest. This month I’m continuing this journey into antique green paint and furniture wax by making a set of serving trays.
Dave and I are both big fans of Critical Role. We used to have our ‘date night’ on Fridays, wherein we would order something from SkipTheDishes because we’re too lazy to go out, and also we don’t want to encounter crowds of people on a Friday night. But, since we started watching the daring dice rollers, we’ve switched our date night to Thursday.
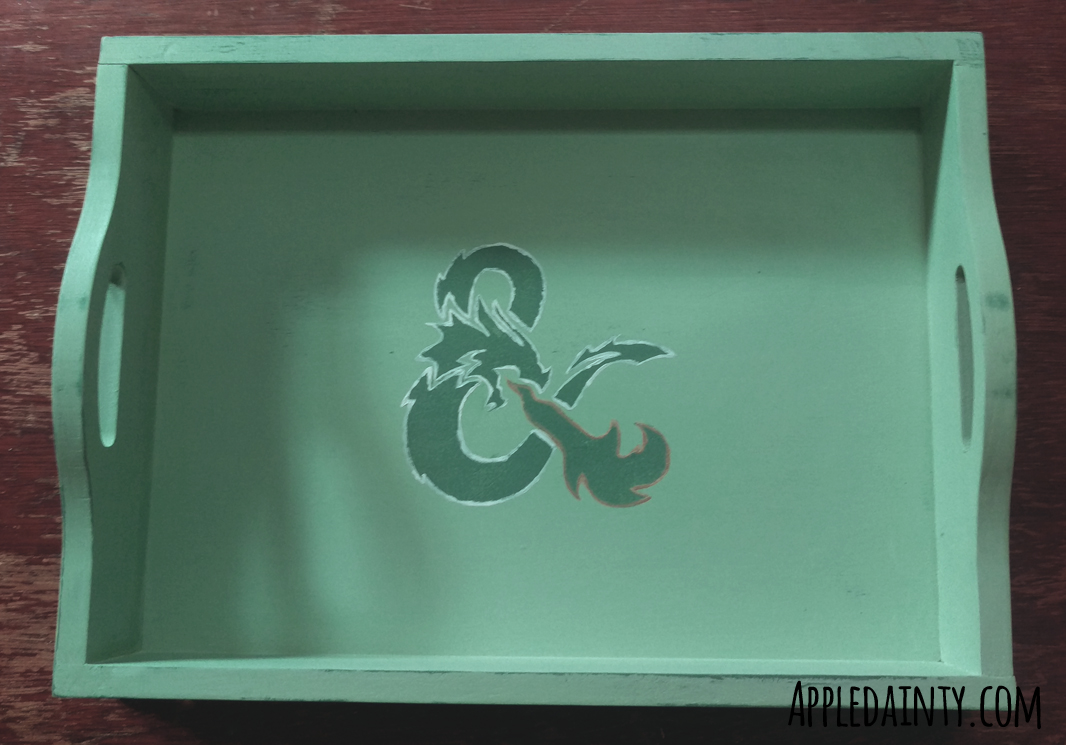
We also decided to try and start up our own D & D group. It’s been years since I’ve played a tabletop game. That was a fun game, or would have been more fun had I not shot myself in the foot in the first five minutes of the zombie survival storyline. Anyway, since I am easily obsessed with new shiny things I ended up with three sets of dice and the desire for my own dice tray.
But, I didn’t want just a dice tray. I wanted to be able to use the tray for something else when we’re not slinging dice. So, I decided to pick up a set of four unfinished serving trays and turn them into dice trays. It was easy to do since I already had all the supplies from my previous refinishing project; the only thing I had to pick up was sets of claw feet – because of course my trays had to have claw feet.
The hardest part of this project was the sanding. The unfinished trays are not the best quality, and I spent the best part of a hour and a half trying to get my first tray into decent shape for painting. I’m going to do the remaining three trays over time; I don’t want to start using the trays until we’ve moved into our new place, which isn’t happening until later this year, so I have plenty of time.
Once the tray was sanded down, I used the same process for painting that I used on my family silverware chest. I painted the dark underpaint, then the lighter top layer. Once those first two layers of paint were dry, I sanded a bit to smooth it out and add a little distressing, then wiped it clean with damp paper towel.

For the stencil design, I found a black and white version of the D & D ampersand and cut it to size with my silhouette curio. I used a piece of cardstock for this stencil, but it wasn’t the best cut and I’ll have to make a new one for the next tray.
After the stencil design was dried, I outlined the dragon with white and the flame with brass. I don’t have a very steady hand with paint, but I figure the slightly uneven quality of the outlines just adds to the handmade/distressed feel of the finished project.
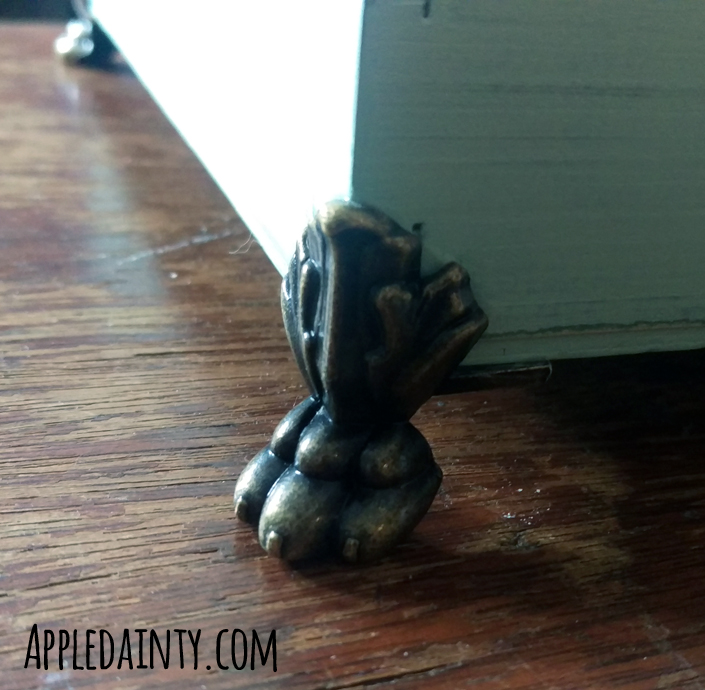
After giving the piece a final light sanding, I sealed the piece with clear wax. The final bit for this project was to add the claw feet. I glued the brass claw feet into place with mod podge. Once the glue dried, the feet got nailed into place with little shoe tacks. As much as I love glue, I don’t trust it to hold the claw feet in place for the long haul; nails are a better insurance policy.
But, I feel like the tray came out pretty nice. My husband is looking forward to having one for himself, although he actually doesn’t like the sound of dice clacking against hard surface. I’ll probably make a felt or vintage velvet liner for them once I’ve got all four finished.
What color liner would you go with? I’m thinking maybe a deep purple or black. Let me know what you think in the comments!

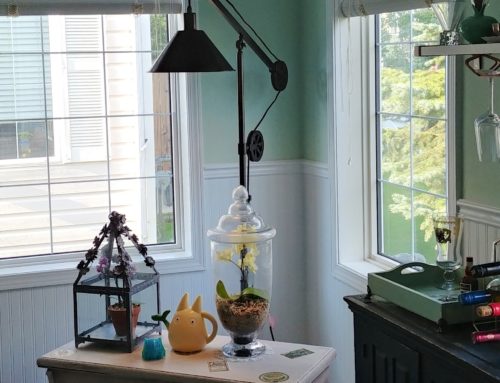
[…] fixtures, I decided to use the same paint that I used for my Silver Millennium Silverware Chest and Dungeons & Dragons Serving Trays – Martha Stewart chalk paint in Eucalyptus (darker) and Antique Sky (lighter), which I got […]
[…] wanted to give this little space some personal decorative touches, of course. So, I added the D&D tray that I painted ages ago, a hexagon wine rack, and assorted glasses. I wanted to make sure that […]